|
I found a cool online tool called Zebratrace - 'ZebraTrace is a simple tool to trace bitmap images into a pattern of curves with a variable width. You can control amount of curves, resolution, min and max width, functions for plotting the curves. The application was created primarily for Guilloché pattern design and all kinds of creative engraving.' I've used a photograph of the Eiffel Tower I snapped during winter when it was covered in snow. I think the results are very interesting. It was a good test for the 3D printer and the process. However I prefer a less photorealistic look. I believe the Guilloché effect is similar to that used to render images in the design of banknotes. 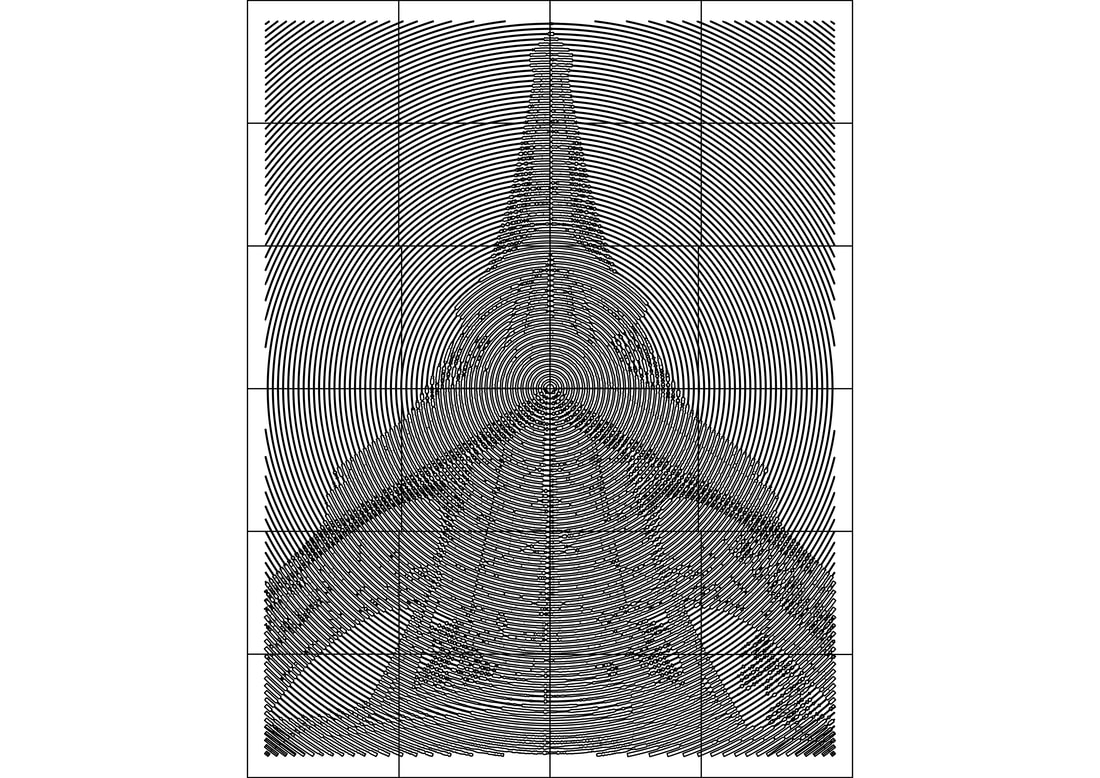 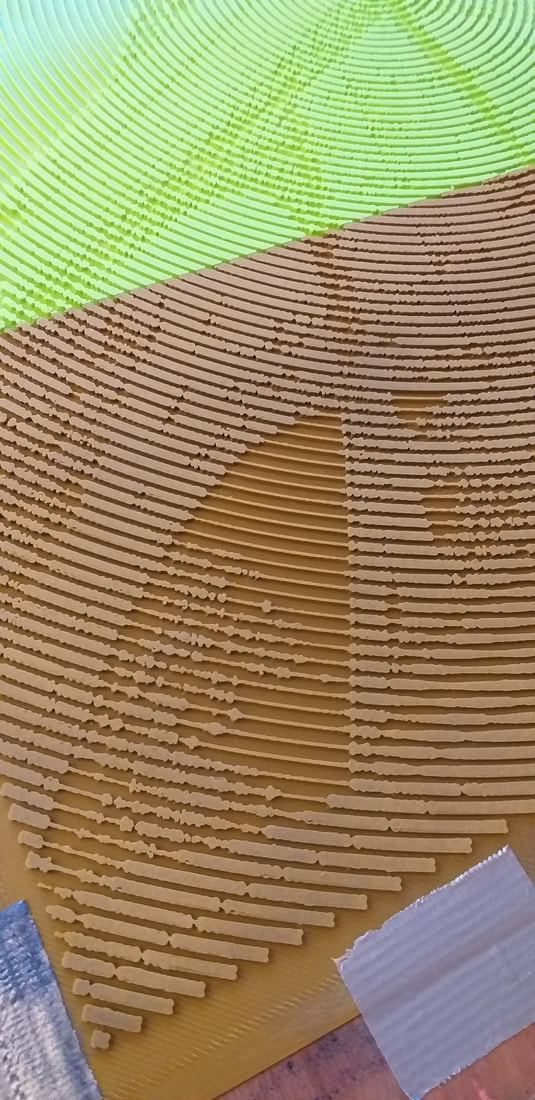
0 Comments
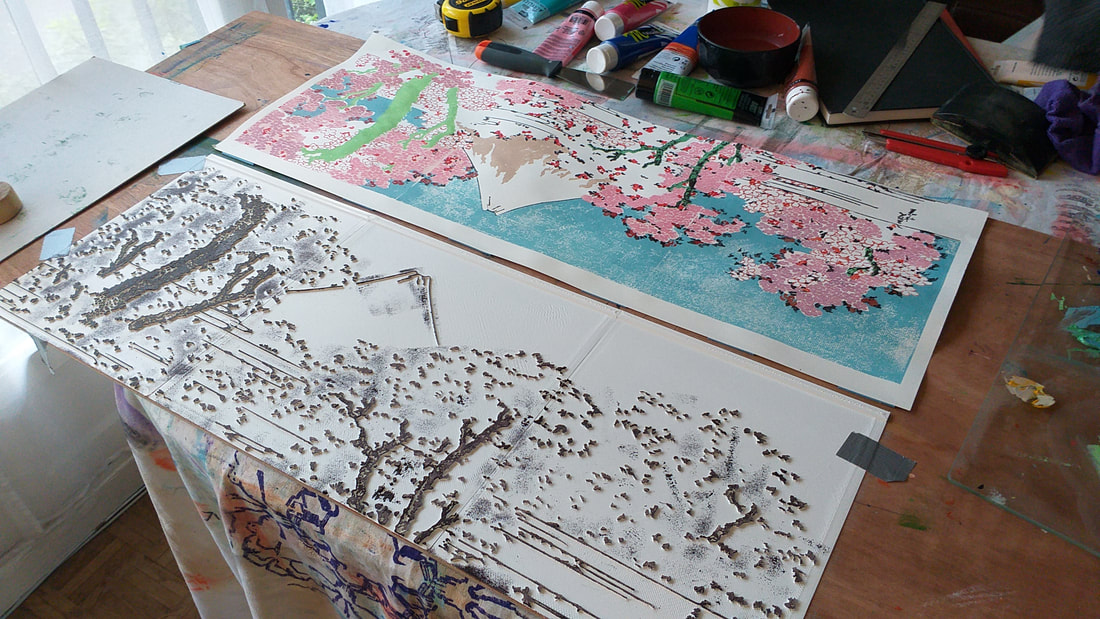
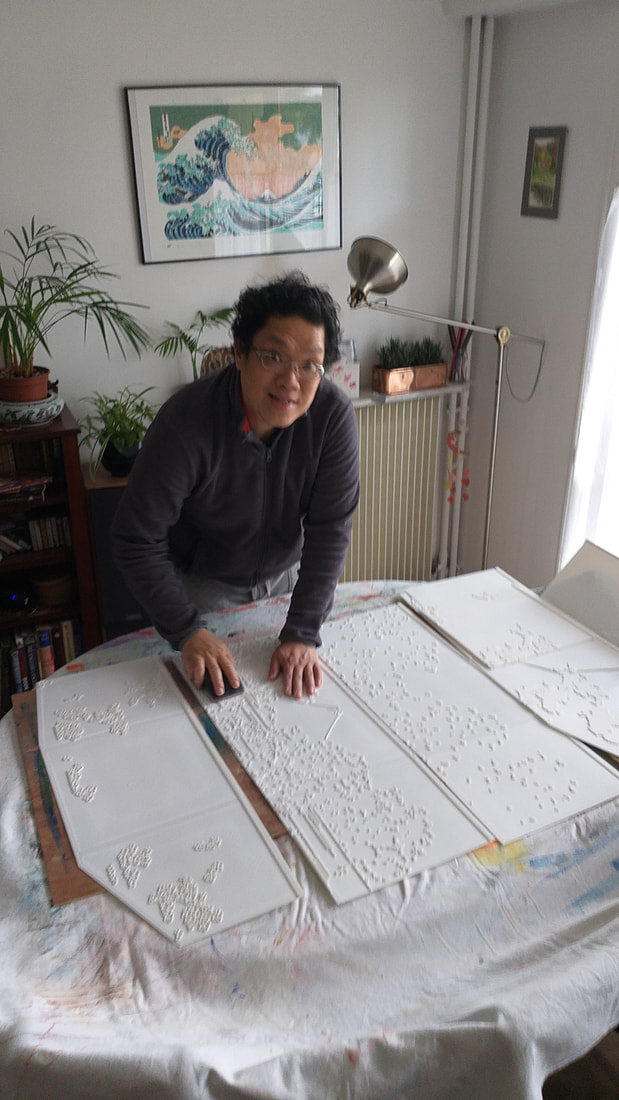
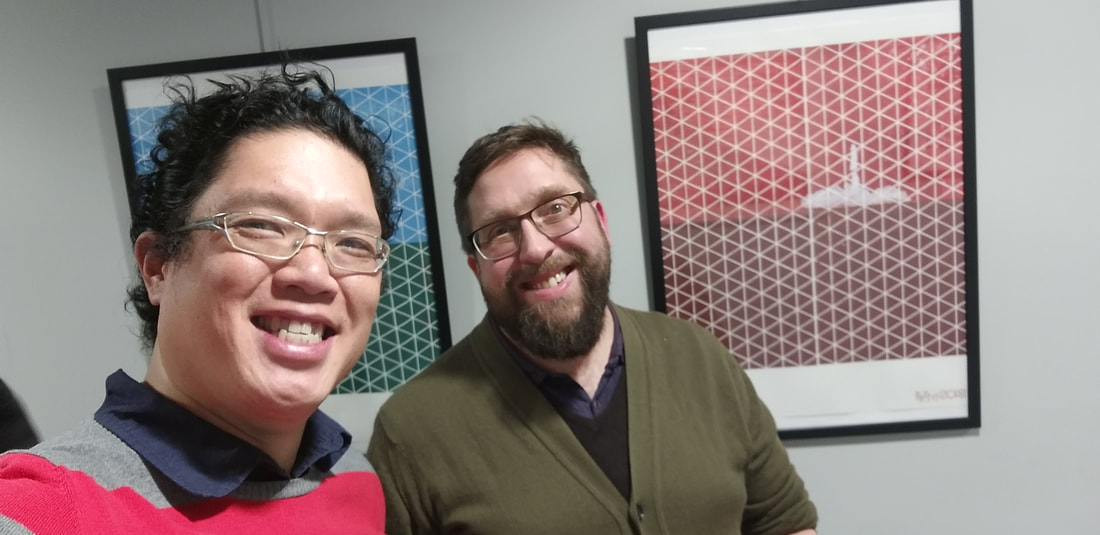
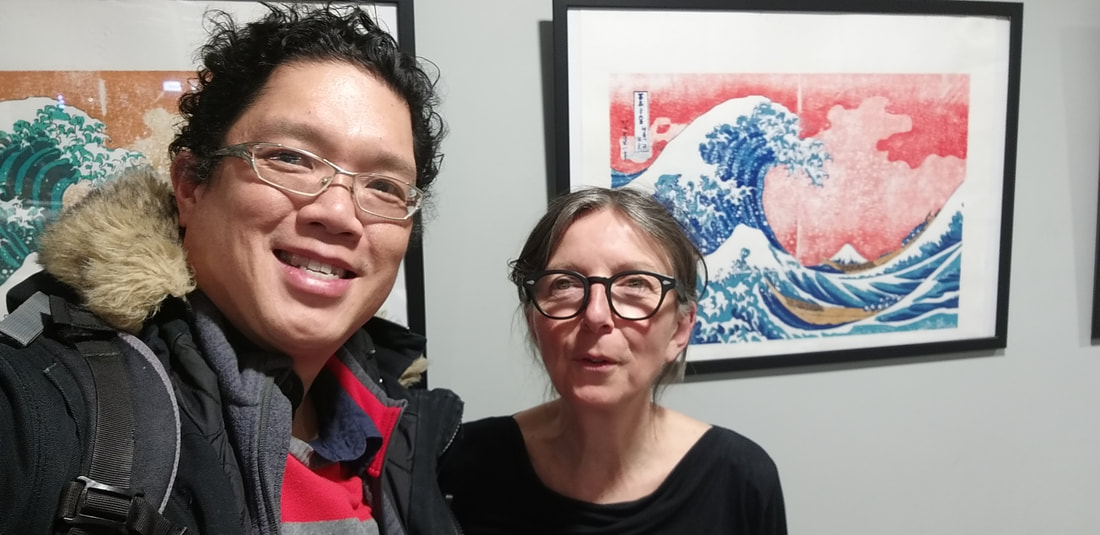
Grateful to British Council Paris for hosting me to talk about 3D printing and Japanese woodblock printing in June, 2019. For more British Council 'Talks in English' go to: https://www.britishcouncil.fr/en/events/talks-english-season   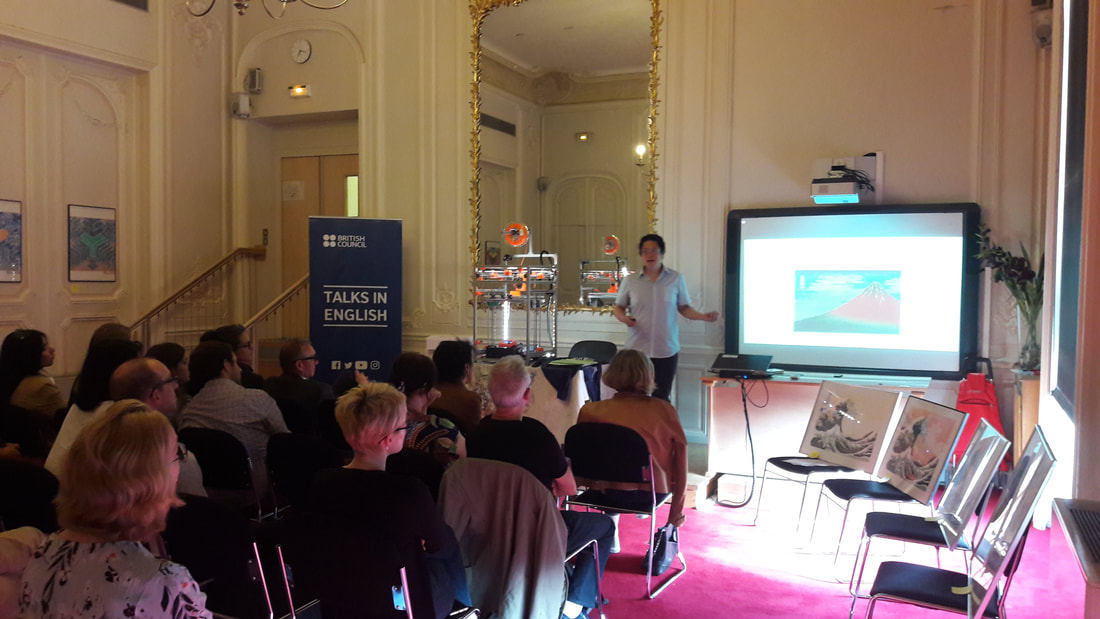 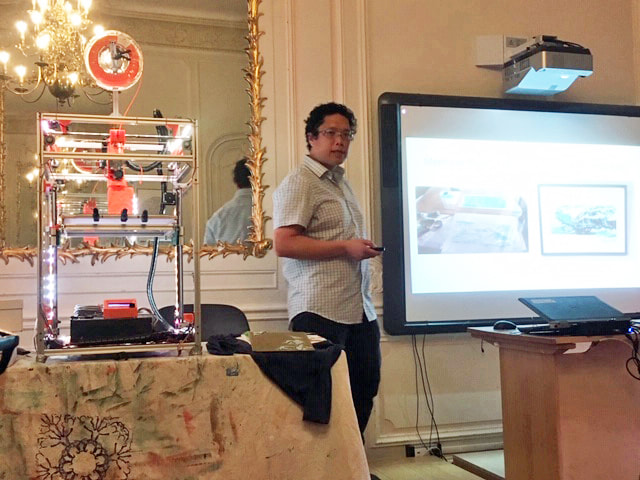  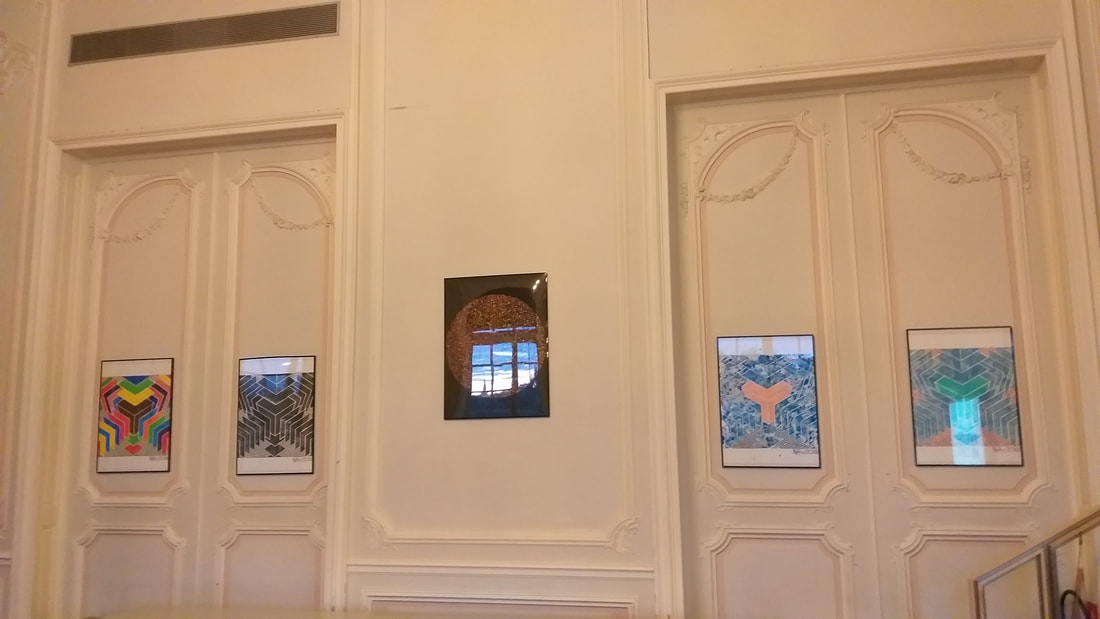 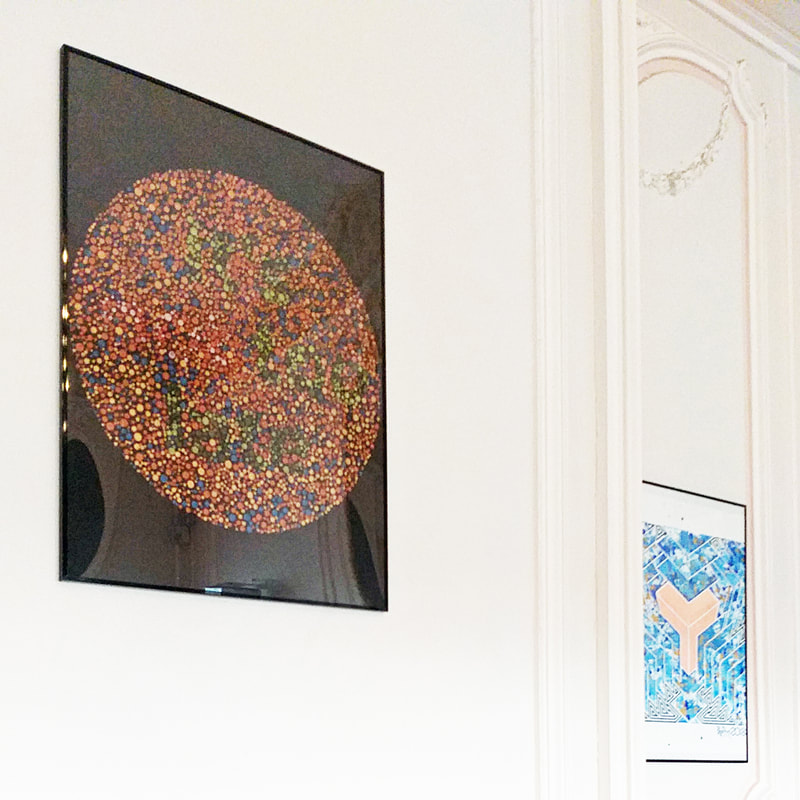 My wife's family has a very old noren bought in Japan more than 50 years ago. I knew it would make a stunning print. 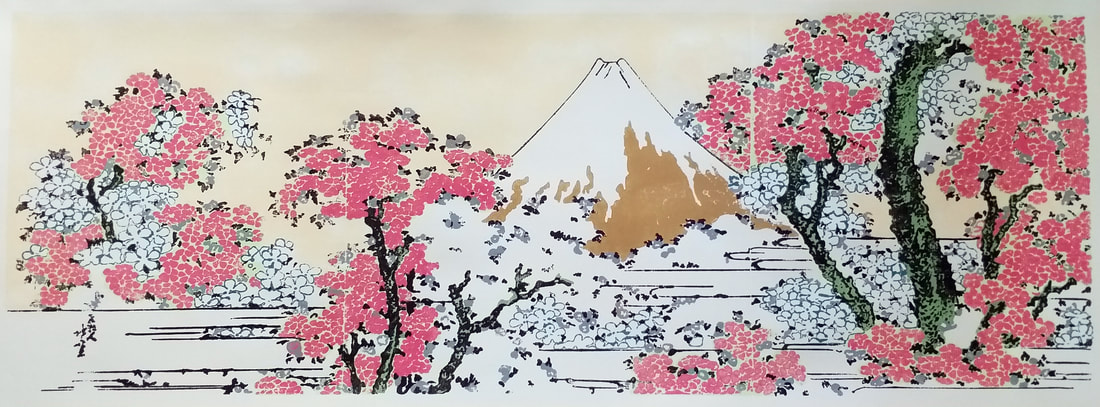 Hand printed with acrylic on paper by Bram Tan. Cherry blossom season is a pretty cool spectacle. Unfortunately I remember this 2019 one because of the viral stories about tourists shaking trees to artificially create a bed of petals around their feet to get a better selfie for Instagram. Outrageous. Despite this, I was inspired to reproduce Hokusai's 'Mount Fuji Behind Cherry Blossoms'. I could only find a half decent example online which would have to do. There are many small details on this one so I has to make sure they were large enough for the printer to print each tiny island, which were only around 1mm wide. This define the overall size of the painting which ended up being 900mm wide x 300mm tall.
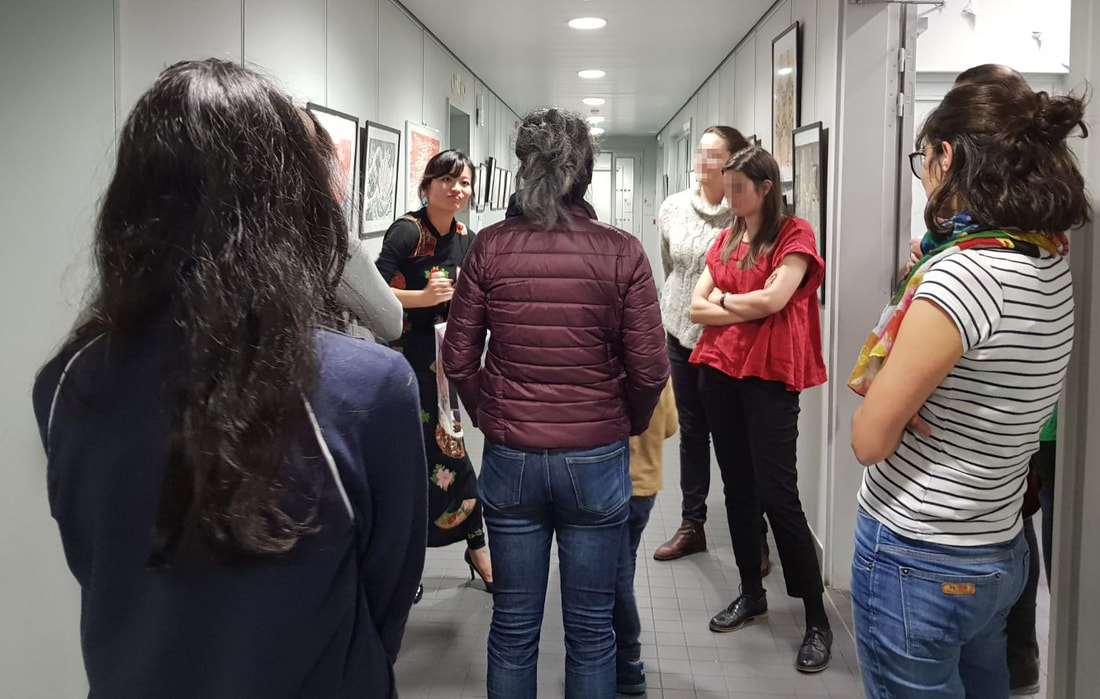
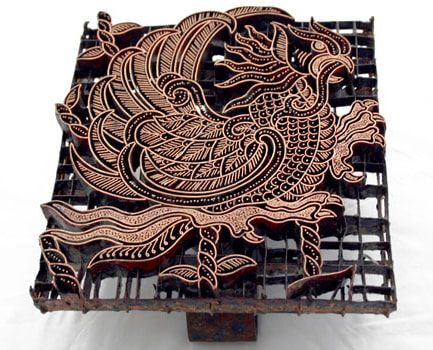
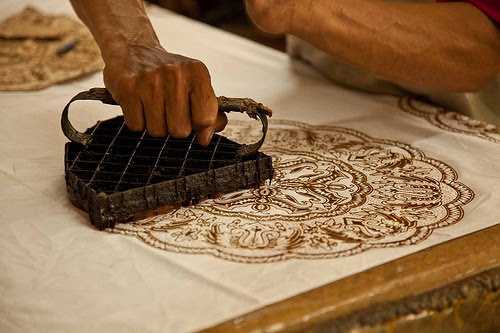
 Final block about to print, the darkest tone is always the last one I do. It changes everything.  I won't go on about why I wanted to become an artist at 45, my reasons and everyone's reasons will be different. I'm willing to bet that something that we do share is this thought - Is it too late? I certainly asked myself that. I've been an industrial designer all my working life and now this? What in the world do I hope to achieve? Short on ideas in the beginning, hoping to quickly develop my non existent style, I happened upon Dr.Ishihara's colour-blindness tests online and thought to myself 'wow these are designed to test if someone has a certain type of inability to see colour'. What a great way to illustrate my predicament. The three paintings I eventually made says 'it's not too late' but myself and other viewers, colourblind or not, have to work hard at seeing the word 'not'. I hope my painting keeps reminding me to never stop squinting and always believe, It's not too late. Because it never is. I once had a dream that people from the 'real' world regularly visited our 'virtual' world for entertainment. They arrived via fountain. I asked the tour guide what their world was like and he said "your virtual world is mostly based on ours except America is made up". To practice my new printing skills, I made three images from my dream. My first exhibition was held on the 22nd November 2018. A big shout-out to Sachiko Koike at Moshi Moshi and Christine Legall at Paris Anim' La Chapelle for their support. Thank you Emily my wife and sons Arthur and James for cheering me on, and to my father-in-law Jonathan for providing the wine! 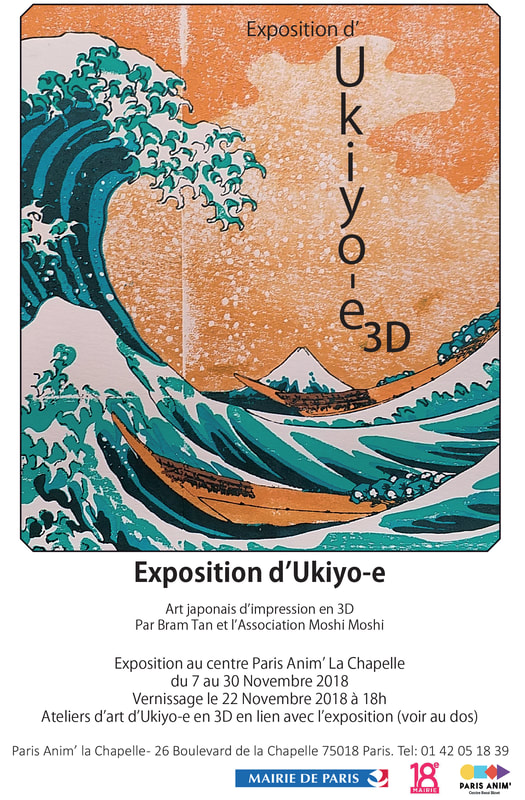 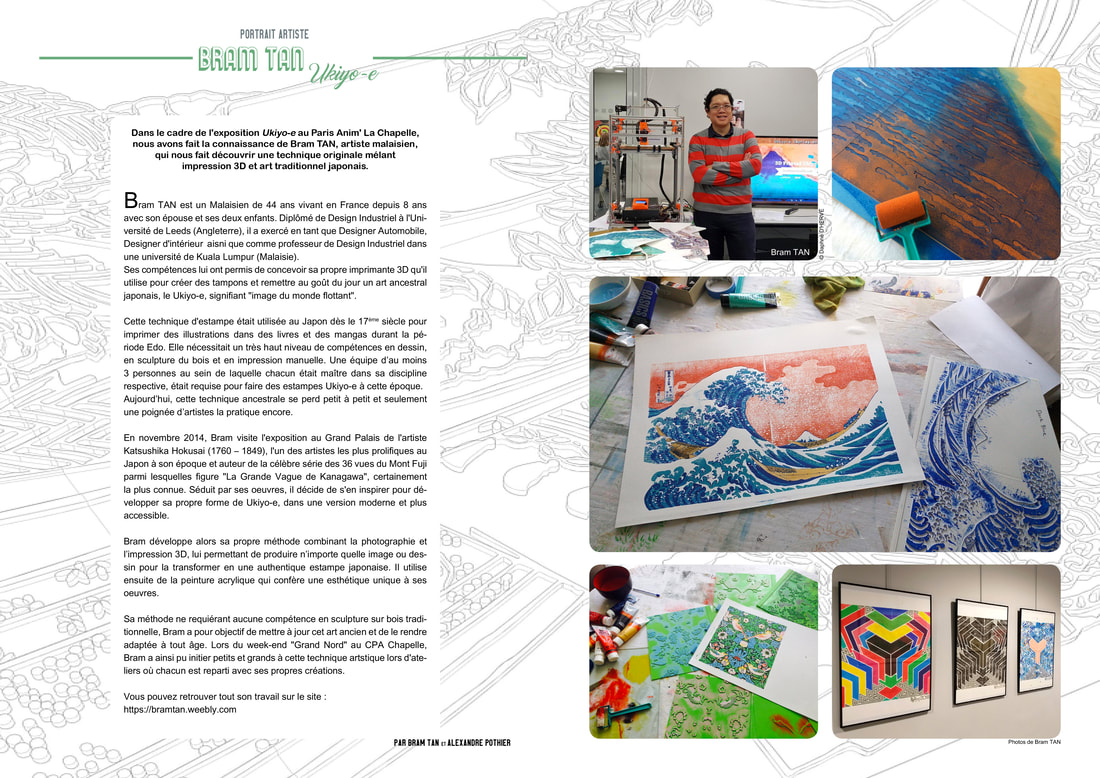 I am just starting my adventures in 3D printed block printing and what a great painting to try out! I love this image by Hokusai. Yes it's a painting and not a print but with 3D printing I can handprint it anyway... Wikipedia: 'Tiger in the Snow is a hanging scroll (kakemono) painted by Japanese ukiyo-e artist Hokusai in 1849. It is one of the last works he produced in his long and prolific career. Towards the end of his life, Hokusai began to draw many large cats. Between 1842 and 1843 Hokusai painted a shishi lion every day as a talisman against bad luck in a practice he called nisshin joma, or "daily exorcisms".In his final years tigers became a subject matter to which he returned several times. In the painting the ground is invisible and the tiger seems to float through the snow-filled air. The snow-covered bamboo fronds echo the claws of the tiger.[2] His fur is rendered with wavy lines, a sinuous effect more in keeping with a snake or dragon. The tiger's expression has been variously described as a smile or a snarl, the tiger himself appears joyful, amused,and "royally pleased with himself". The signed inscription reads: "Month of the Tiger, Year of the Cock, old Manji, the old man mad about painting, at the age of ninety". The work, possibly his last painting, was done just a few months before his death aged eighty-nine by Western reckoning. It shows that even in his old age, Hokusai's powers remained undiminished.[3] Narazaki Muneshige wrote of this painting, "While the artist's body was emaciated and bones wearied by age, in his thoughts he was a charging tiger". The seal reading Hyaku, or "One Hundred", is another sign of Hokusai's preoccupation with longevity.[4] The painting was sold by Christie's auction house for US$772,500 in October 1998. It is held by a private American collector.' It's time to think about new things that 3D printing can do. So far its been model aircraft, lampshades and sculpture projects. I'm not interested in trawling the internet for generic 3D printed toys. Sure, it can be used for very small batch production but it's far from an efficient way to do things. The SUNBIRD would actually be really great at producing super complex one-off parts as prototypes but even as a designer I don't get prototyping work very much. So if the superpower of 3D printing is being able to print whatever can be generated on a computer, I should figure out the most interesting and original things to draw on my computer first. I want to get creative and love art, so I'm thinking along these lines. I'm Malaysian so I thought about the handmade stamps for making Batik. With the right CAD modeling and settings, a 3D printer could easily knock these out. These are currently made by skilled craftsmen out of metal. However when thy are used the are dipped into molten wax. I worried about the temperature of molten wax - 5- to 60 centigrade melting PLA. With the right choice or filament - Nylon or PET, a 3D printed stamp would work fine.
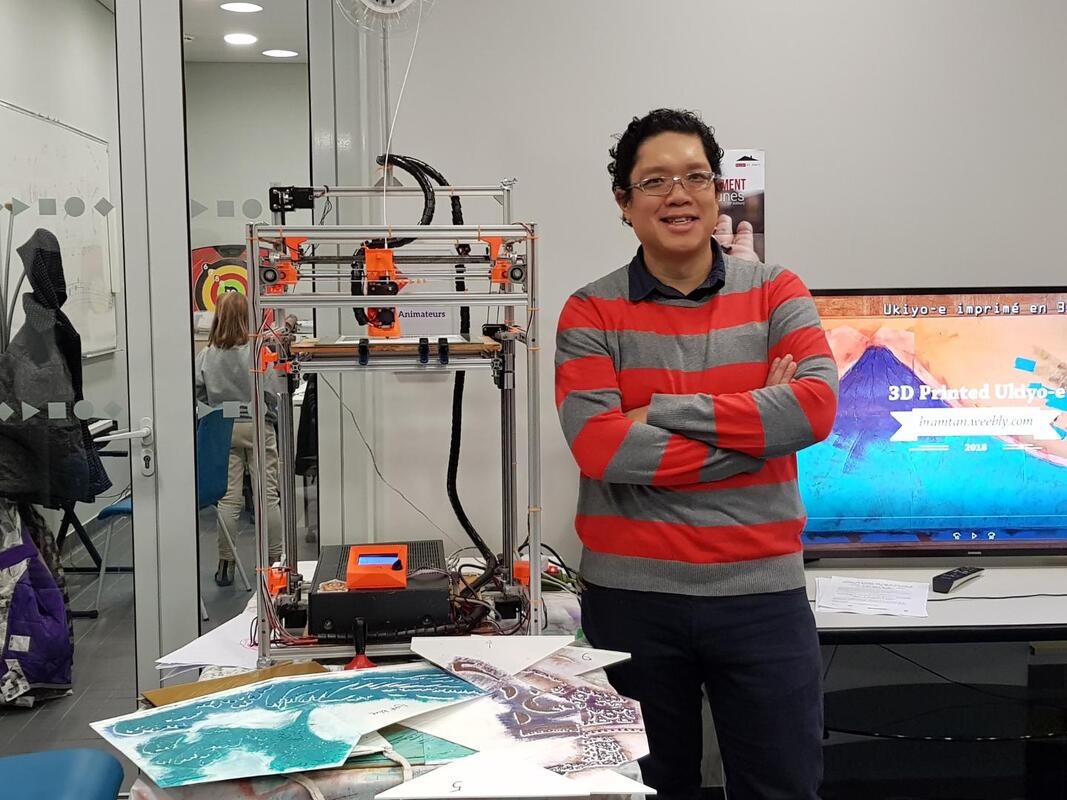
There would probably not be much of a demand for 3D printed batik stamps though. In the meantime I thought of other applications. Of course I chose an ancient Japanese printing technique that's slowly being lost to the world, woodblock printing. There was a really great exhibition in Paris of woodblock print artwork by the famous Japanese artist from the 18th century, named Hokusai. It was a fantastic collection of his work but I found out later he had done so much in his near 70 year career, that there was only half of it on show. Despite being hundreds of years old, reproductions of his art have been used in mainstream media and are very recognizable, like this one below. 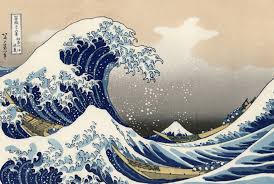 The method used to produce these amazing images is called woodblock printing and the art is called Ukiyo-e. It's essentially an early form of offset printing which is how many books, posters and newspapers are printed today. In Ukiyo-e, the artist uses hand carved wooden blocks to transfer ink to paper in a very precise way. Can a 3D printer be used to make Japanese style woodblocks? Carving these blocks is really really hard to do and takes a long time, so I wondered if 3D printing could be used to make some sort of more accessible alternative for the budding artist. I doubt that a 3D printed version could ever match the beauty of a traditional woodblock print but it would certainly be fun. I decided to convert a famous print of Mount Fuji by Hokusai into 3D data and started printing test samples to see what kind of print I could get. I'm running a slightly wider nozzle, 0.6mm so maybe the standard 0.4mm nozzle would be better to get the smaller details but take a lot longer. I am sticking 0.6mm. 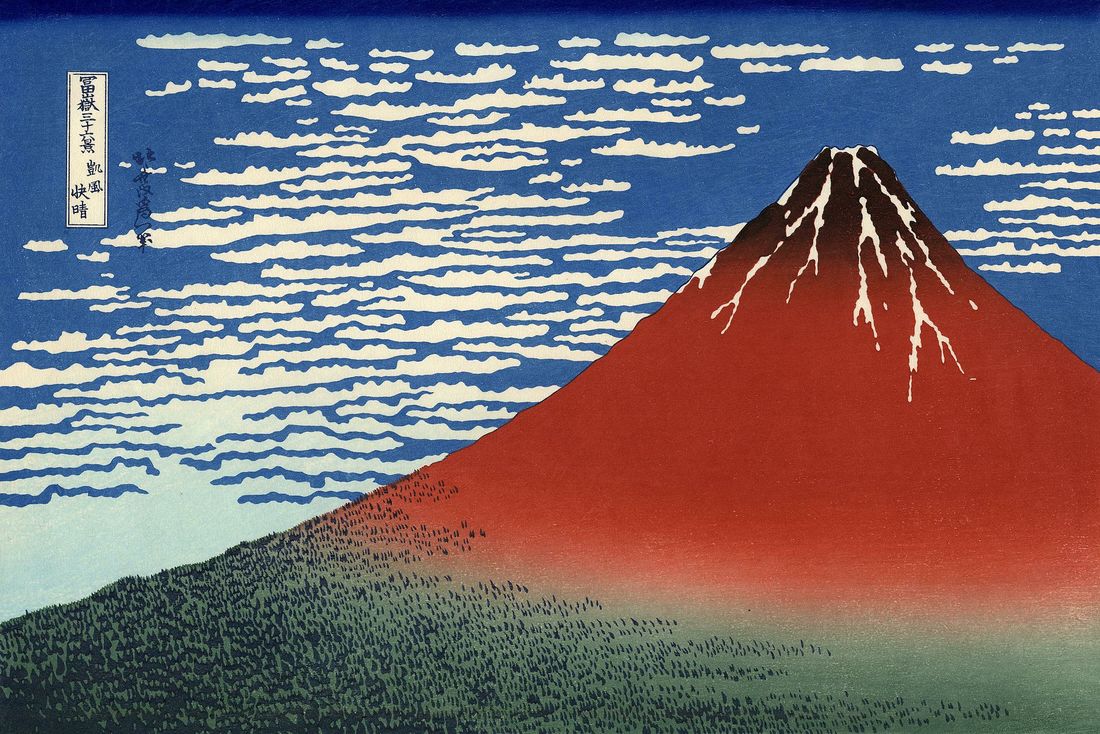 I tried a few different Grasshopper algorithms with Rhino to perform an edge-detect function on jpegs that let me generate the lines I need to extrude and turn a photo into a 3D printable model. Here is a link to get the Grasshopper definition. Rooster - www.food4rhino.com/app/rooster 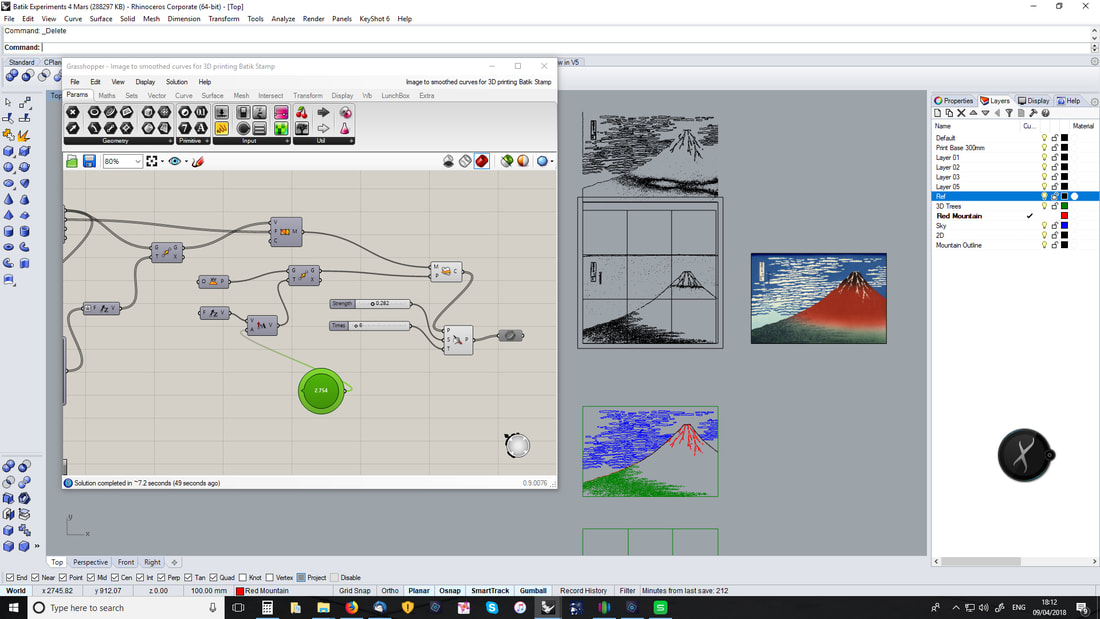 At first the numerous tiny details in the artwork caused print failures and I needed to really tweak the slicer settings. On the whole it was quite challenging to get all the details in like the trees at the foot of the mountain but so far they look pretty good. See below. 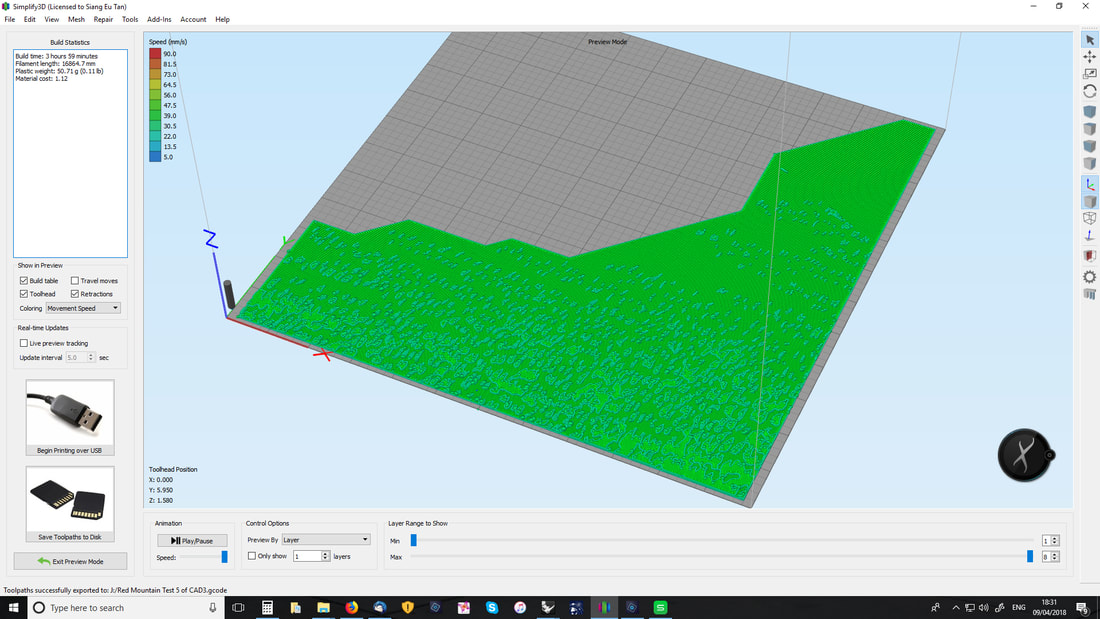 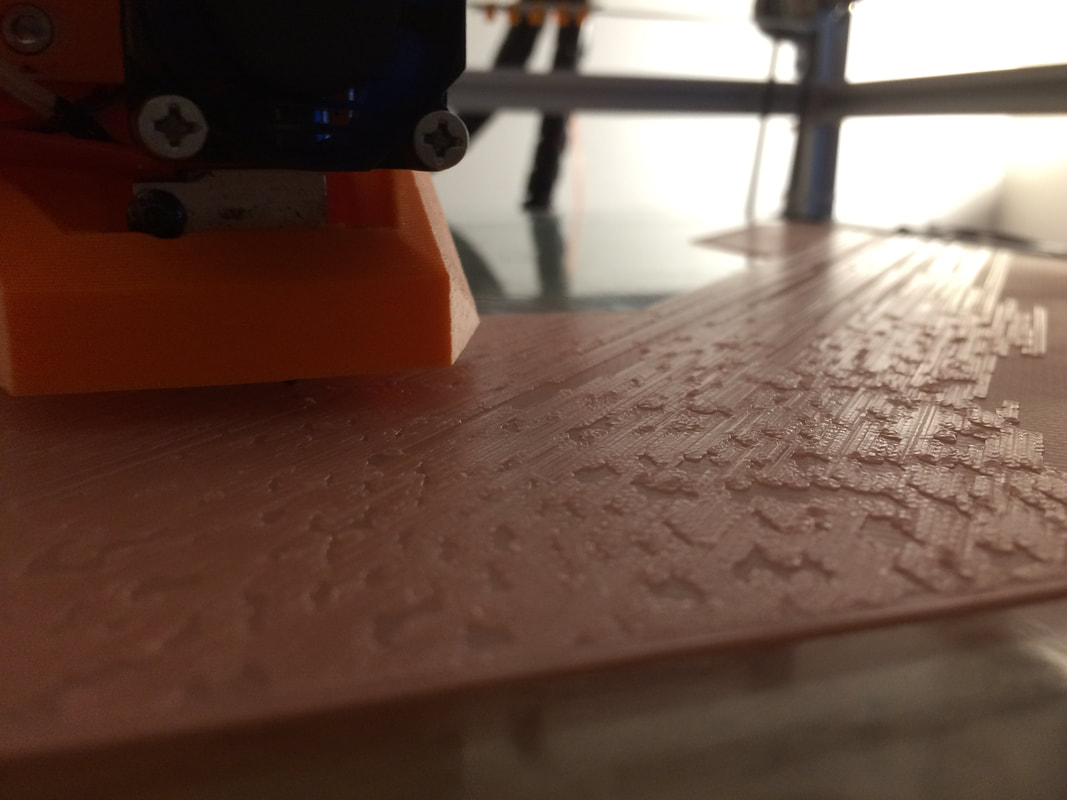 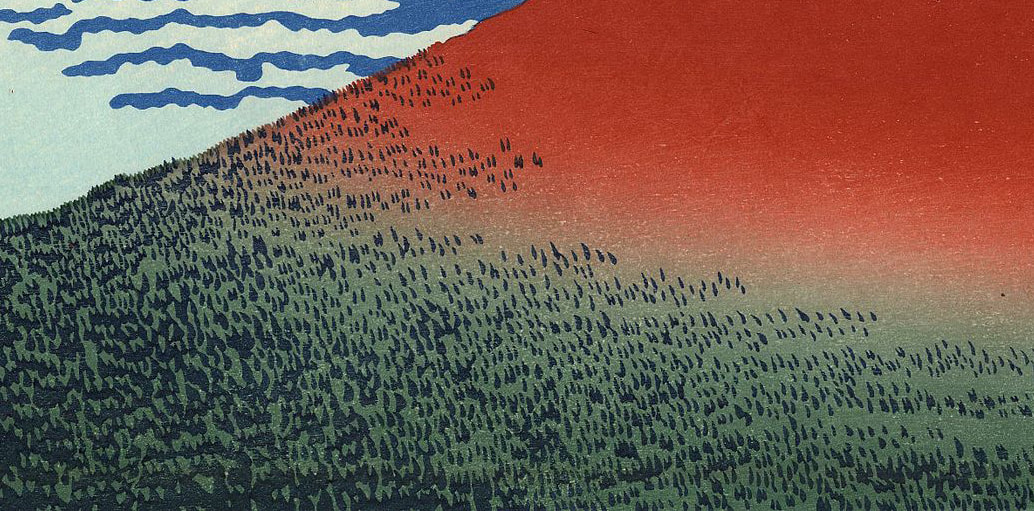 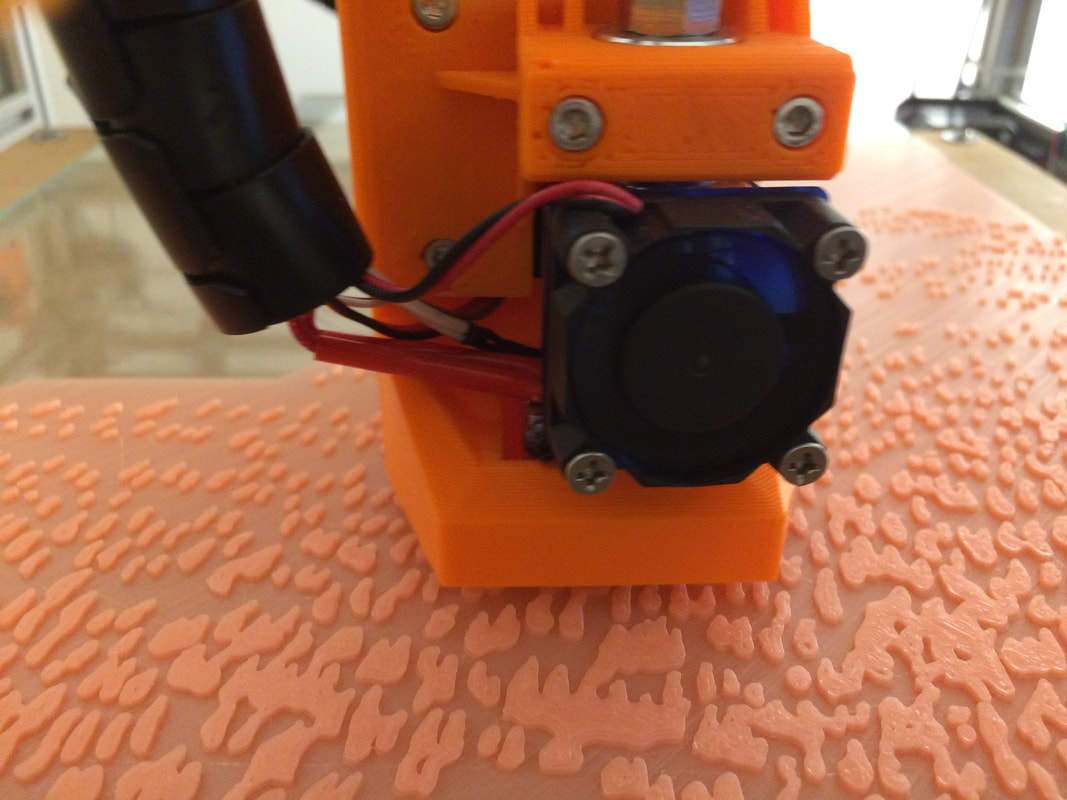 Looking forward to actually printing a proof of concept. I do foresee many issues with how the ink or paint will stick to the plastic but there is a type of 3D printing filament called Woodfill, which contains wood powder so... maybe this 'wood' be the best option:)
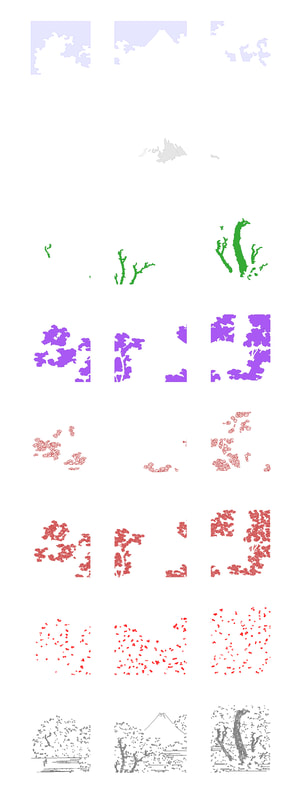
After doing a few successful 3D prints, it struck me that this process could be used to convert artwork into a medium to let blind people feel and see a piece of artwork too. But that is for another post. 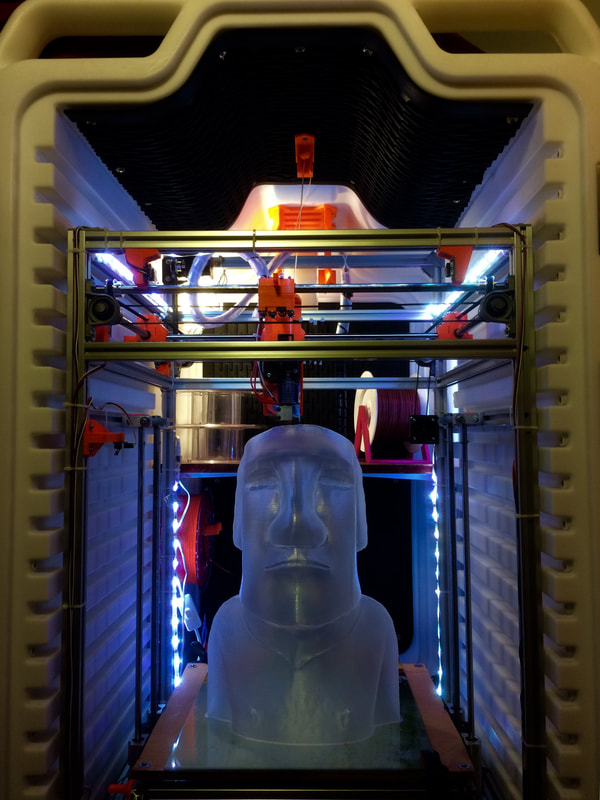 They say getting 80% of the work done takes just 20% effort, but the last 20% takes 80% more effort.
I disagree, it actually feels more like another thousand percent! I've been printing all sorts of test parts in order to tune firmware settings. This is a pic taken of a print, the first time I've maxed out the Z axis, printing a sample model downloaded from the British Museum. Maxing out Z means 382mm. I hope to get this number to a nice 400mm. This was also quality test after all my tweaks and it is stunning. So after all, Chinese parts turned out to be great and very worth the 3 week delivery time. |
Author
Bram Tan Archives
September 2023
Categories |


 RSS Feed