|
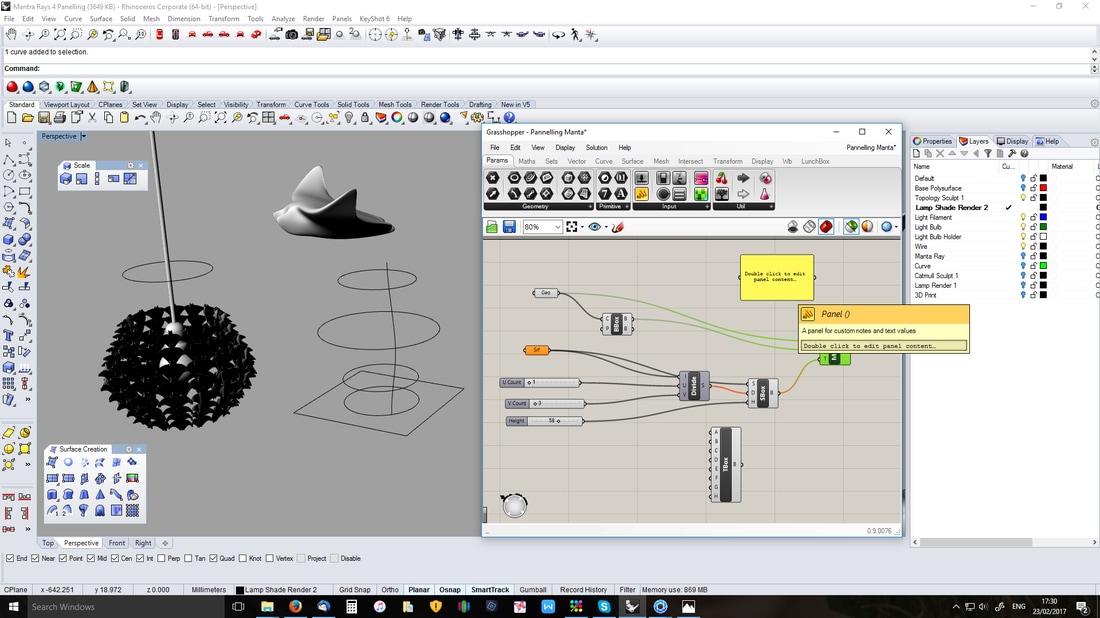
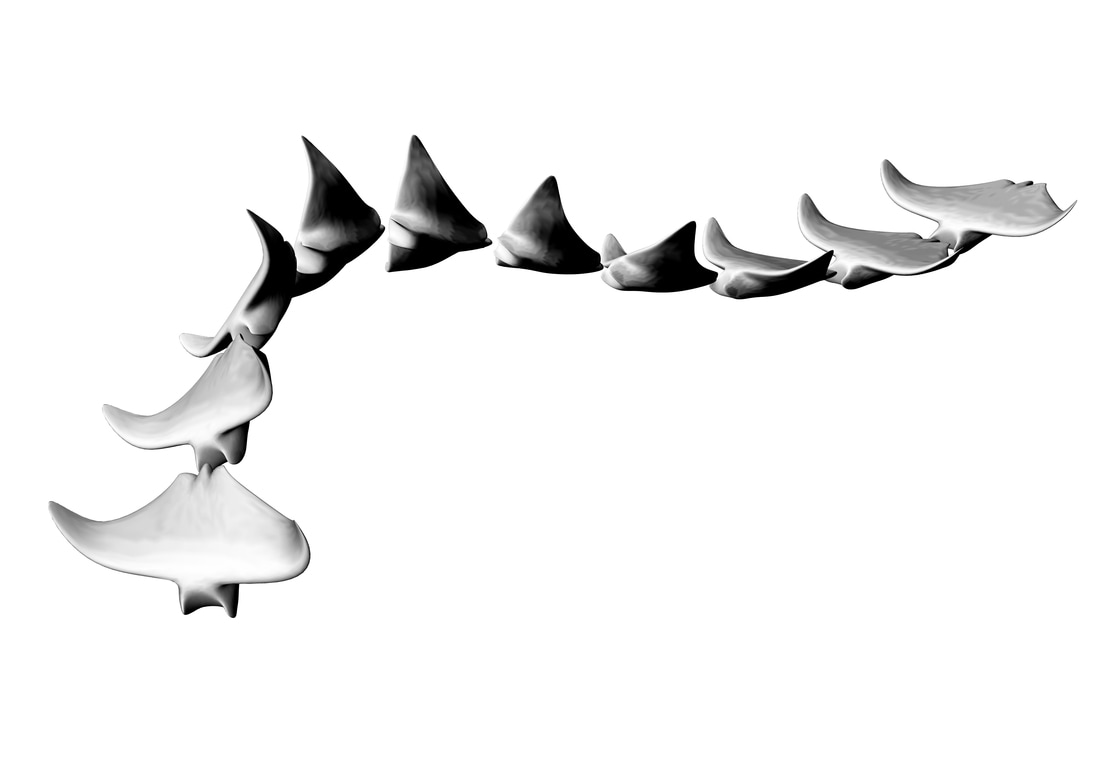
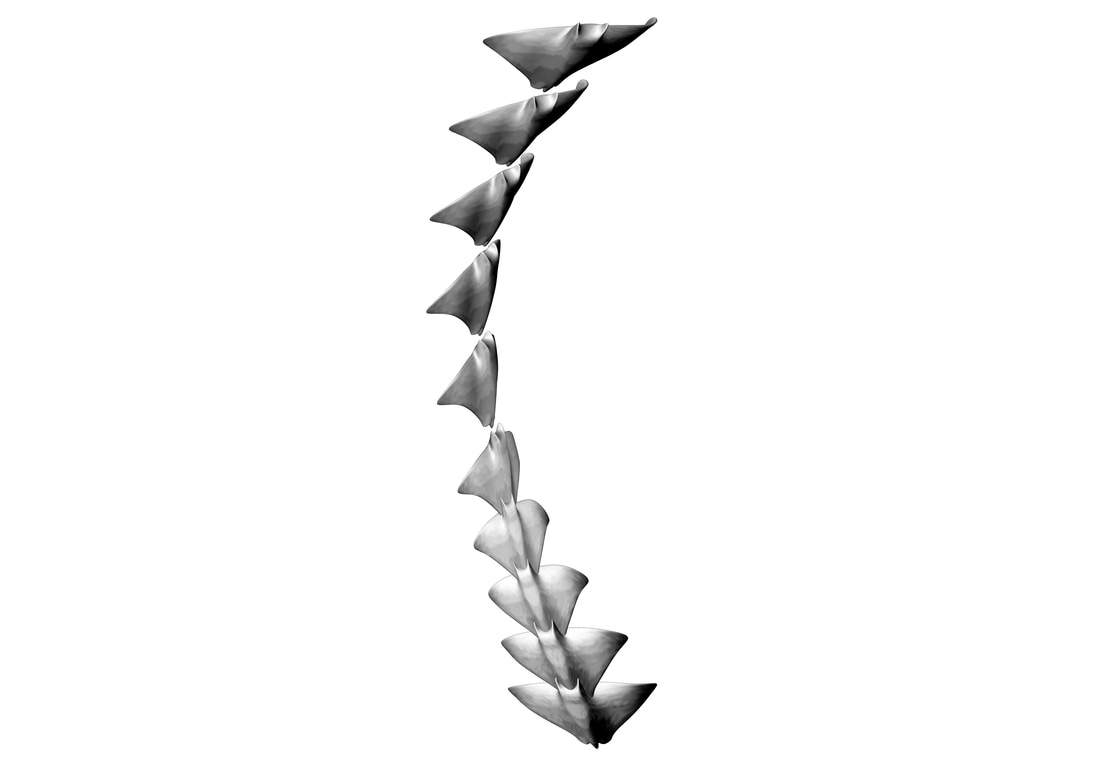
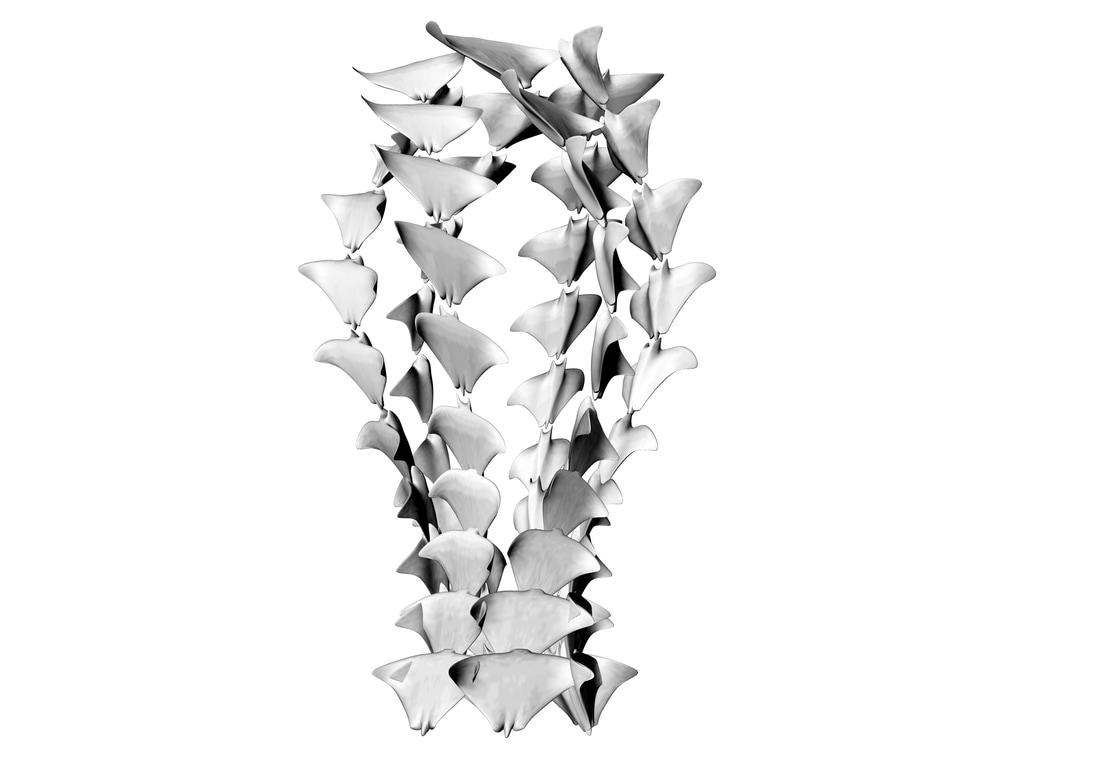
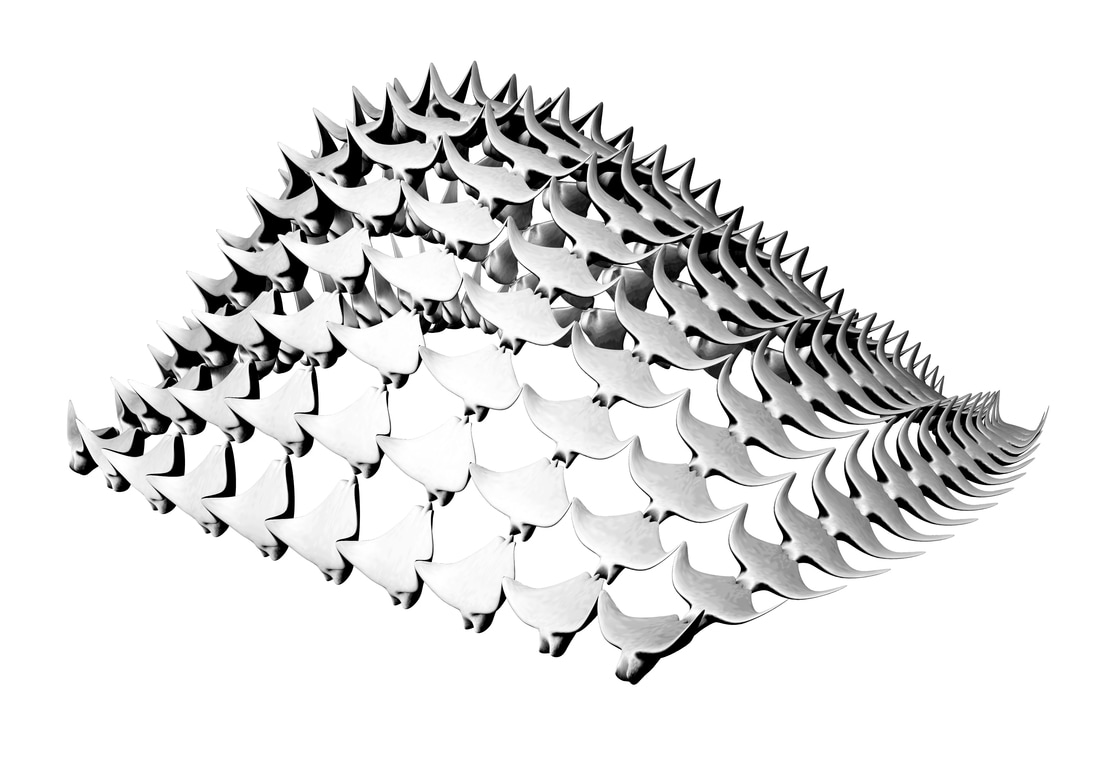
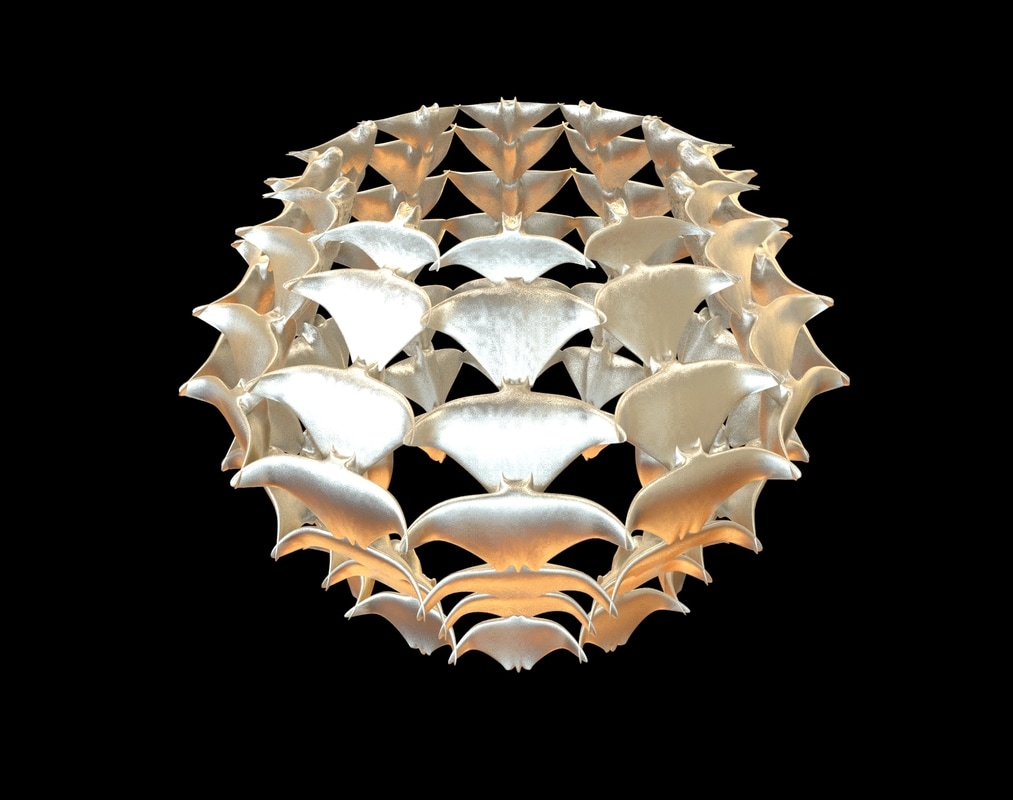
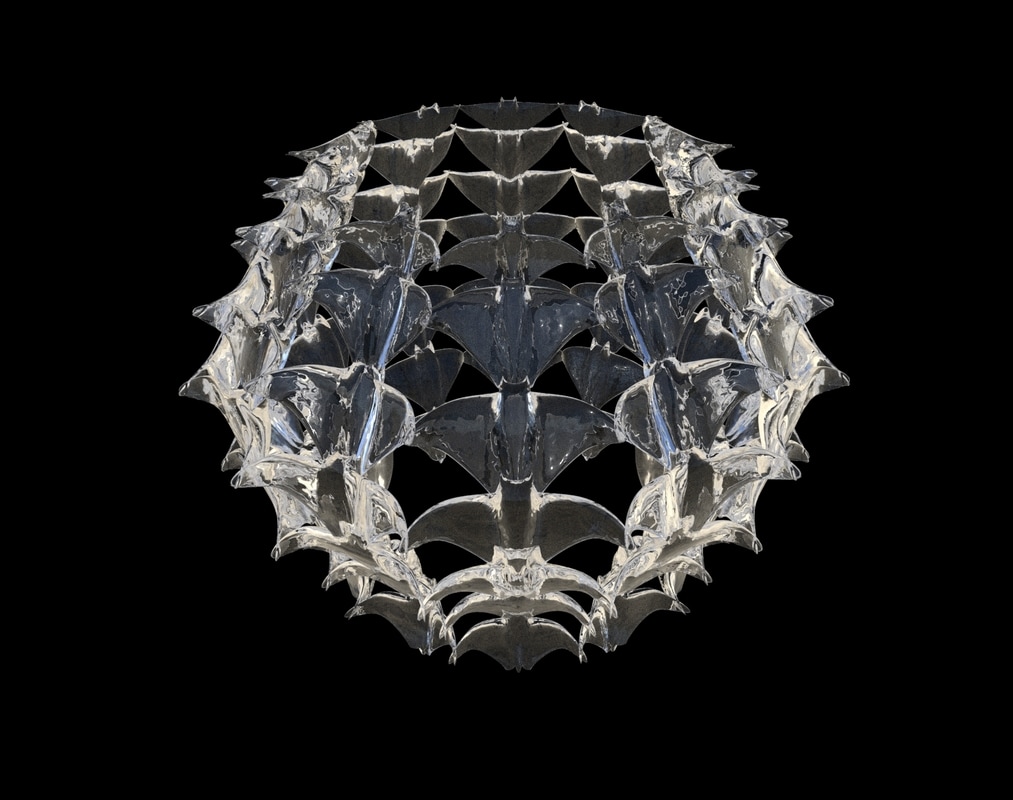
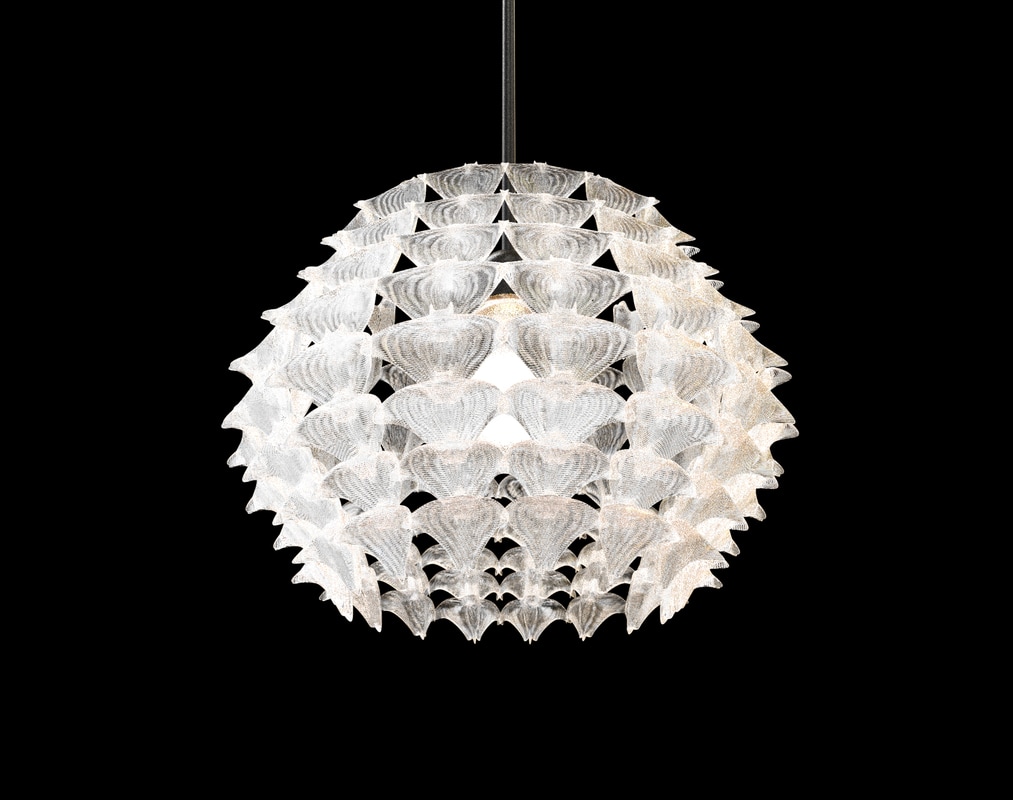
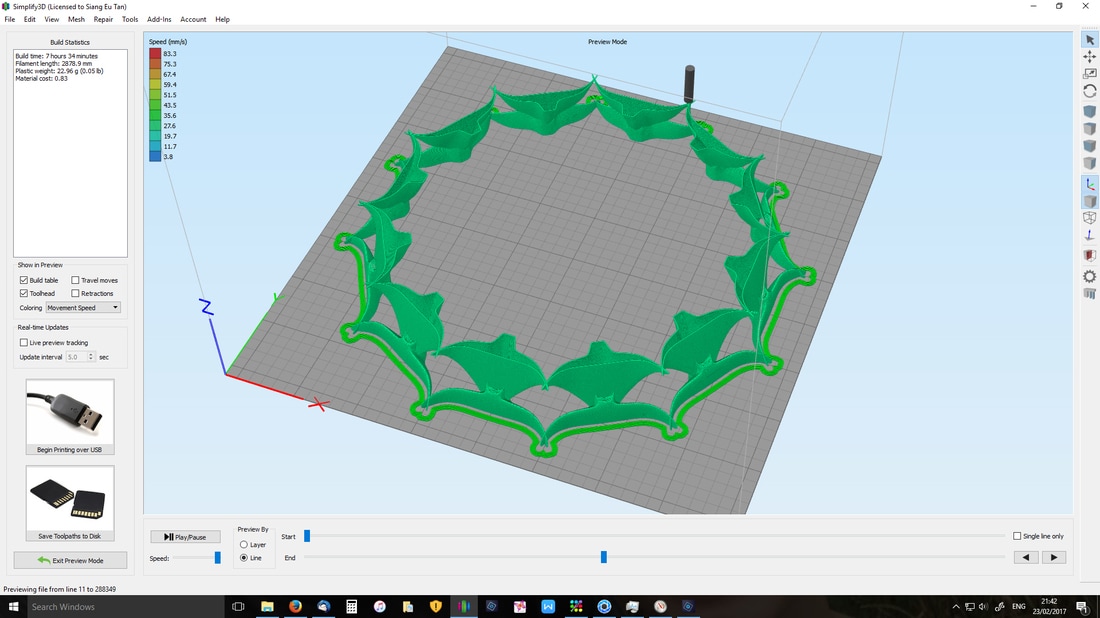
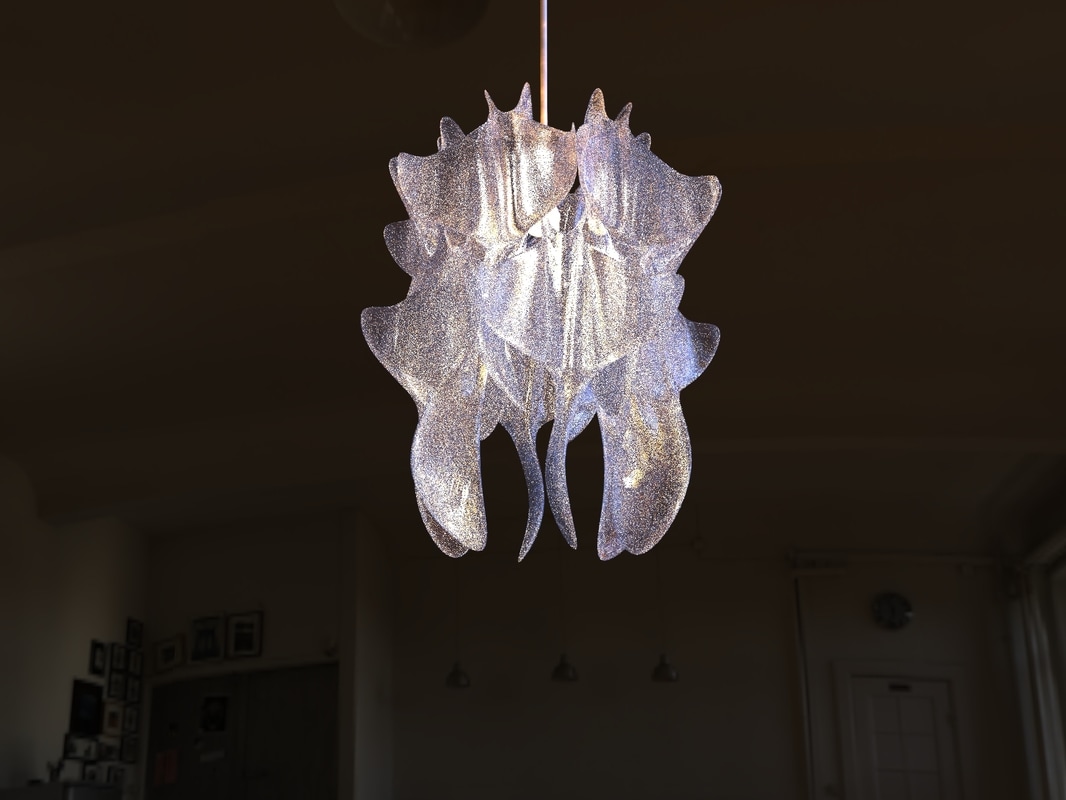
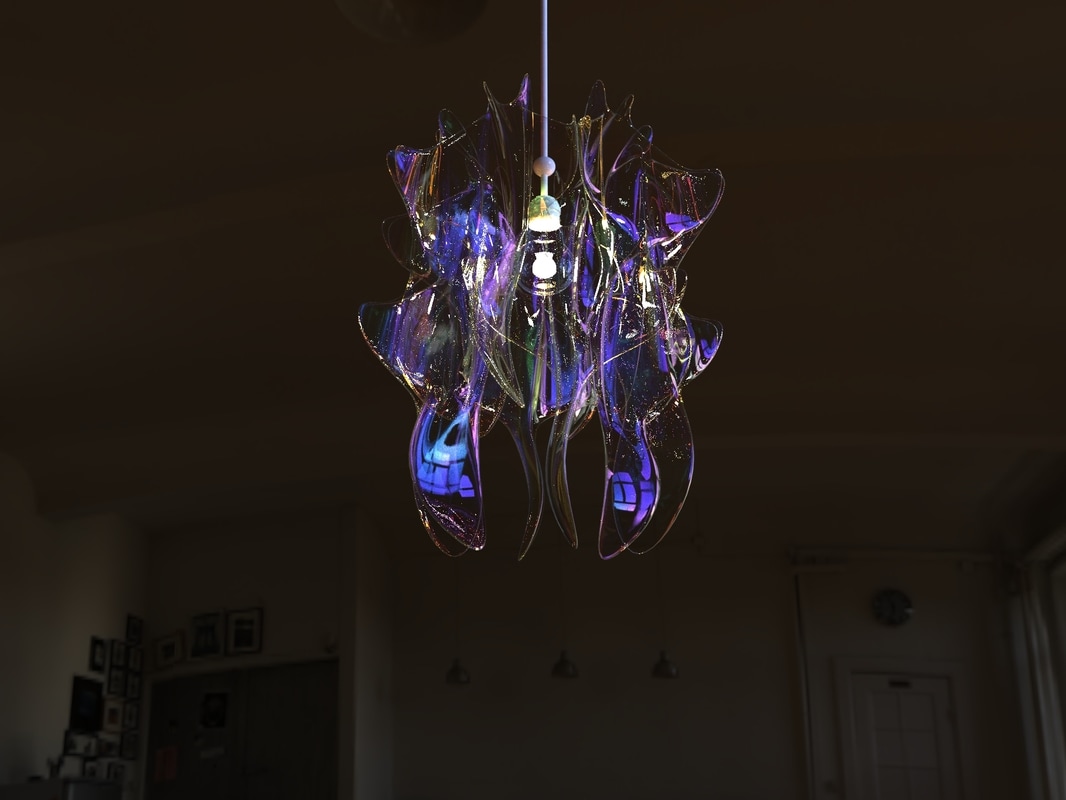
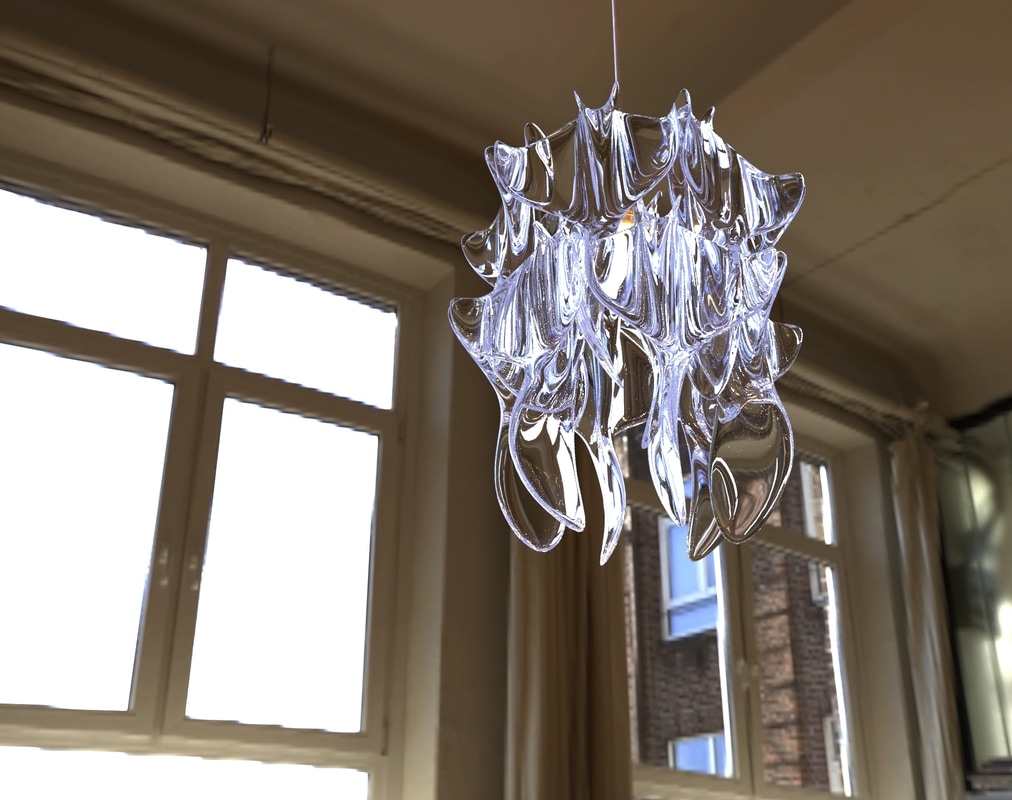
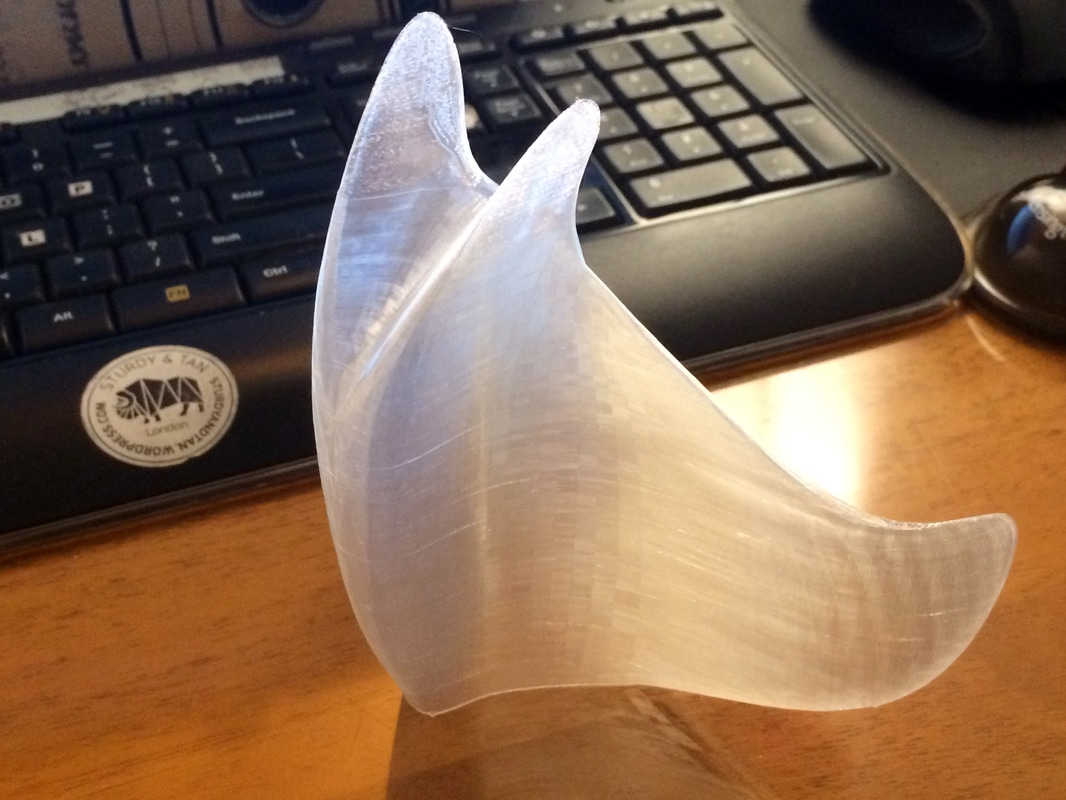
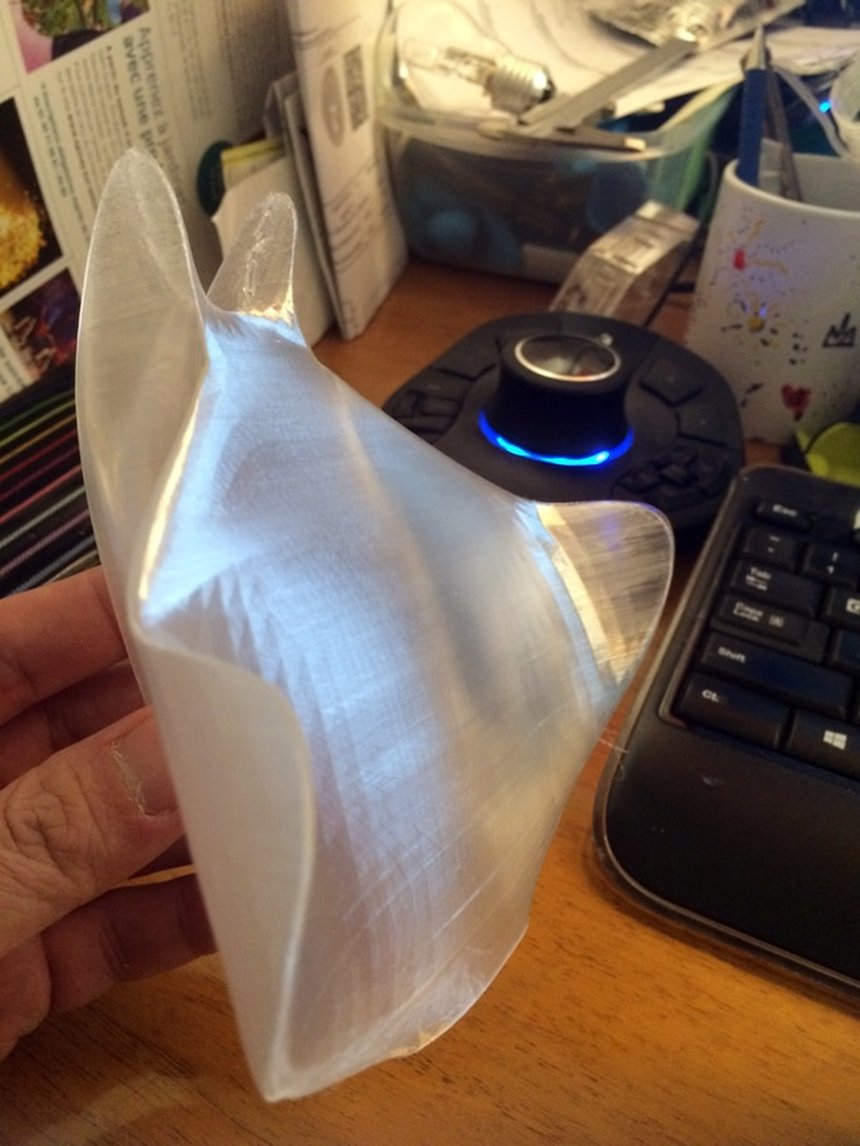
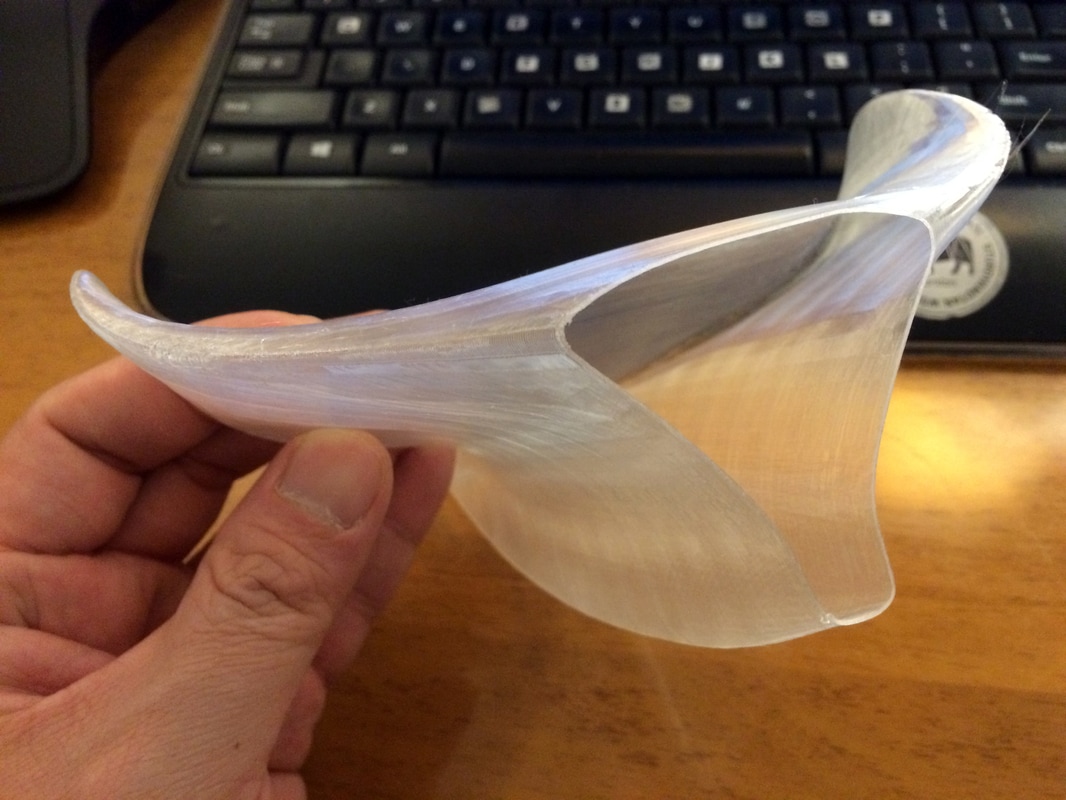
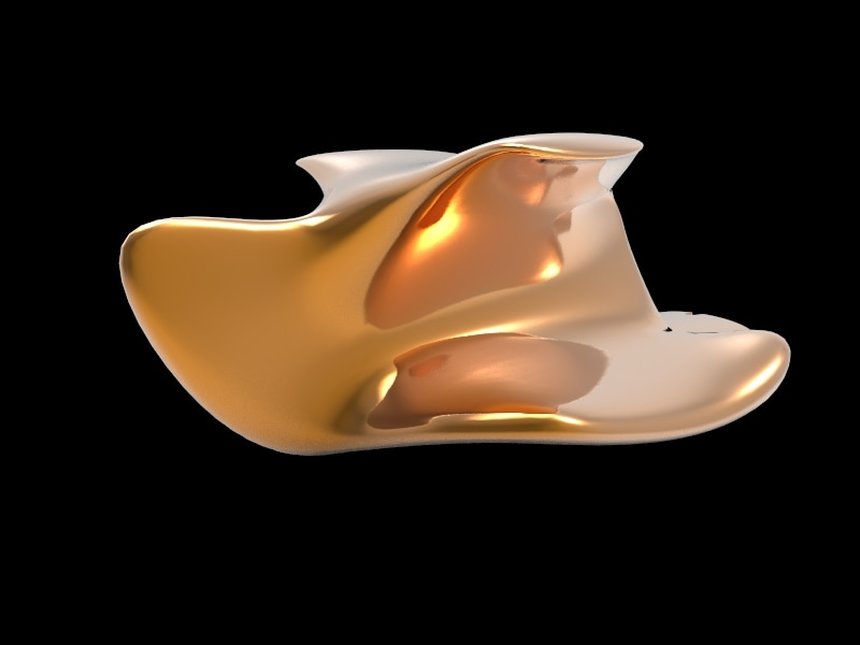
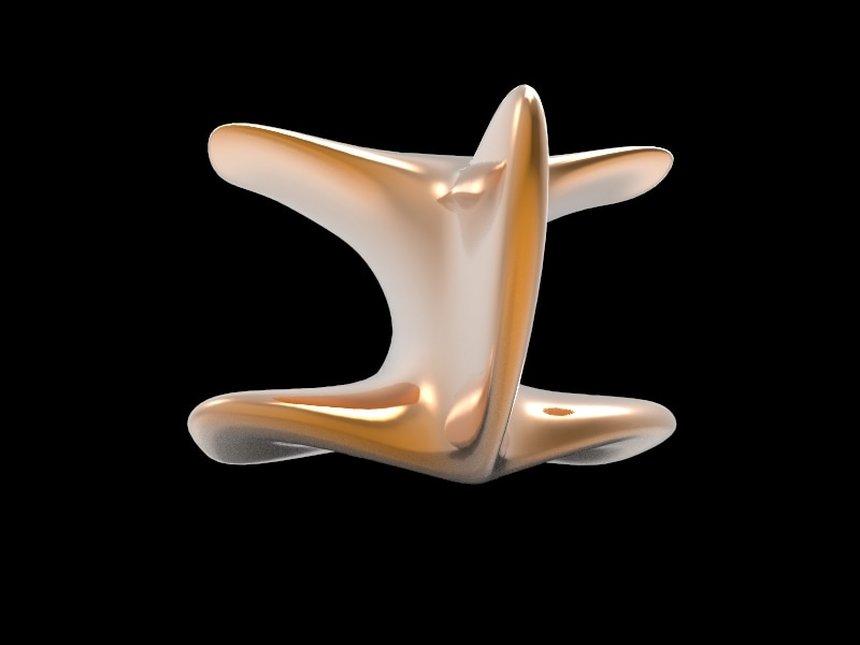
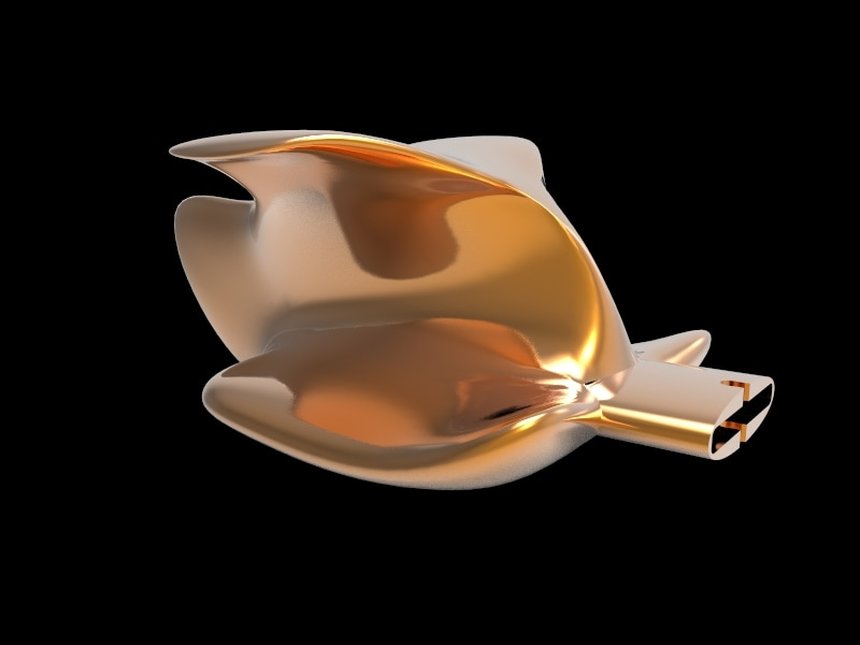
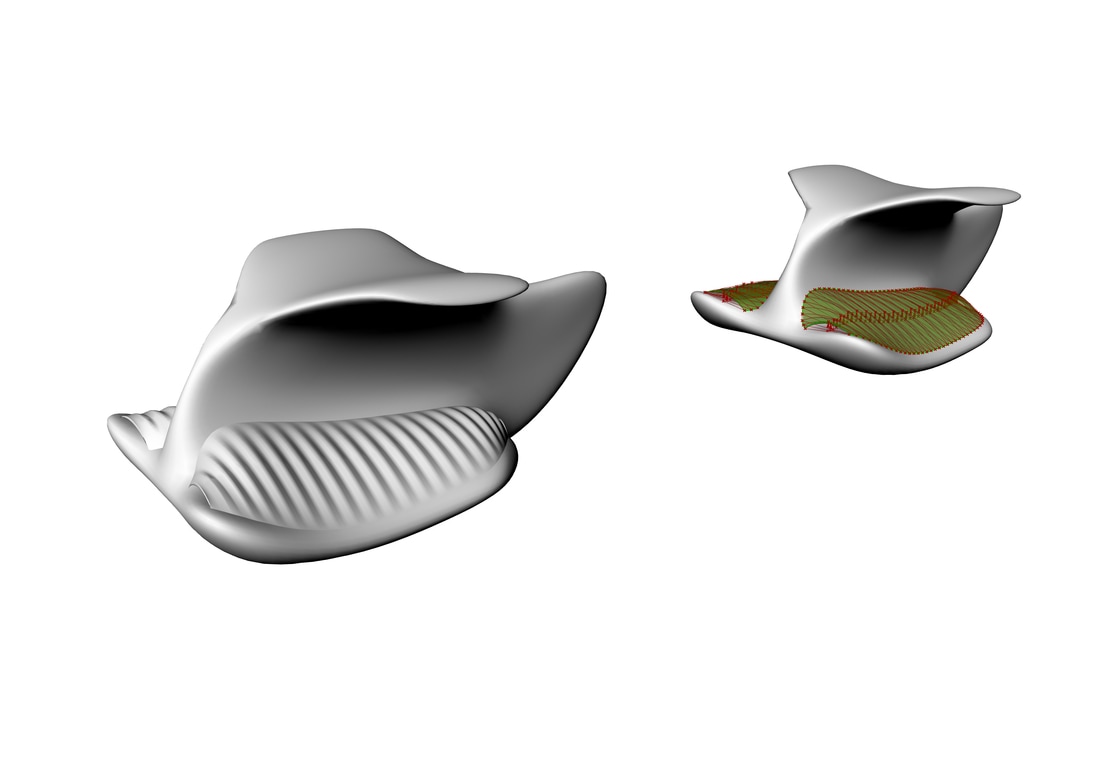
I am this very minute designing the 'Mantra Rays' lamp on Rhino 5, running Grasshopper with a Weaverbird plug-in, specifically using the 'Cat'mul-Clark subD operation. What a mouthful. It's like a nerdy version of that book 'The Watering Hole'... My design efforts consists mostly of protracted periods mulling things over and sketching for hours whislt making zero progress, and then totally by surprise, an idea lands on my lap and I jump up and head for the computer, I've given up trying to conceptualise anything other than with pencil and paper, no iPads, no CAD, my method works, it takes ages but it works. Today I had one of those minor breakthroughs, I realised from my sketches that my ray simply wasn't right. It looked nothing like a real one, just the fantasy mash-up version I have carried in my head. So I looked up some reference pictures and managed to remodel make it much more accurate. After having some success at this in Grasshopper I decided to try and model the whole lamp procedurally, i.e. with as much of Grasshopper's programming capabilty as I know how, and see where it would take me. The upside of doing it like this is that even if I screw it up, I would have learned a lot more node based programming anyway. I generated a few tester ideas to see what Grasshopper could do for me, my watchwords were 'quick' and 'interesting'. Primarily I wanted to capture the energy and awesomeness of manta rays. By day's end I settled on a pretty classic goldfish bowl shape and ran some 'twisted box paneling' operations to get the desired result, quite happy with it for now but it's still very much a work in progress. I even managed to run some simulations on Simplify3D slicer to check viability, guess what? It is just about viable and I haven't even done any optimisation yet. Can't wait to get to the test printing stages late next week hopefully.
0 Comments
As a result of my last mini project creating organic forms with Grasshopper AAD, I stumbled on my next 3D printed offering to the world. I have been thinking about designing objects for sale on 3D print marketplaces for awhile but have not been inspired until now. Tapping deeply into my nerdiness, I have learned a whole lot about 3D printing and now trying to push this technology as far as I can beyond its current application as a rapid prototyping tool or to make simple toys, I want to use it to make stunning end use products. I have decided to start by designing lighting because it's universally appreciated by potential buyers plus the huge range of new high end filaments (rolls of plastic filament is the equivalent of what ink is to regular paper printers) available in almost any colour and texture you can think of, plus the rise (or rather fall in price) of super bright/low power LED lighting technology, in my mind, is shaping up for a perfect storm of really really cool 3D printed lighting products that you can download and fabricate yourself in your own home. How amazing does that sound?! So to kick things off, I present... Mantra Rays (a work in progress). A study of the manta ray's beautiful forms perfected by eons of evolution in the sea. I am also trying to blend in the notion of the mandala (a circle of spirituality) because I believe beauty is found in nature and geometry. I am committing myself to not sketching any ideas that cannot be physically printed so it may come as no surprise that even this early sketch is totally printable. I'm currently testing a Single Wall/Vase Mode printing technique which will produce incredibly economical and lightweight parts. Nerd rating for this project is: 4 What is single wall/vase printing mode I hear you ask fellow nerd? It is a way of optimising designs and setting up the printer to make totally hollow parts with super thin walls. Having just finished my SR71 Blackbird project, I have uploaded the full 3D print available for download here: https://pinshape.com/items/32190-3d-printed-sr71-blackbird-complete-print Hoping to improve myself as a designer, I have resumed personal study of Algorithmic Aided Design (AAD) via Grasshopper for Rhino 5. I recently completed a mini one day project to put into practice what I have learned so far. I tried to do restyle mash-up of an already very innovative product that my close designer friend Robert Wolfson has recently launched: https://www.evoshave.com/ My aim was primarily to see how AAD could help generate smooth curves with less effort than traditional NURBs modelling and I also learned about some other techniques that will help me generate some funky 2D laser-cutting artwork in the future, this is good news because I do quite a bit of that too. As for the Evoshave shaver handle, I wanted to go crazy with smooth ergonomic forms and add a small 'tail' so that the user could wash the razor in very hot water comfortably. My short journey so far is summed up in this quick and rough video: Yes I did cut myself in the process... |
Author
Bram Tan Archives
September 2023
Categories |
 RSS Feed